Building a backyard deck is a rewarding project that not only enhances the aesthetics of your outdoor space but also adds functionality and value to your home. This step-by-step guide will walk you through the process of constructing a durable deck that can withstand the elements and provide years of enjoyment.
Before you begin, it's crucial to have a clear plan and design in mind. Consider the size of the deck, its purpose, and how it will fit within your existing landscape. Sketch a blueprint that includes the dimensions and layout. Remember to check local building codes and obtain necessary permits. This will ensure your deck meets all legal requirements and safety standards.
Once your plan is in place, make a list of the materials and tools you'll need. Here's a quick checklist:
Choosing pressure-treated wood is essential as it's resistant to moisture, decay, and insects, ensuring your deck's longevity.
Clear the area where your deck will be located, removing any plants, rocks, or debris. Use stakes and string to outline the deck's perimeter. This will help you visualize the space and make necessary adjustments before construction begins.
Footings provide the foundation for your deck. Use a posthole digger to create holes at each corner and along the perimeter, spaced according to your design. Typically, footings should be at least 36 inches deep to prevent shifting during freezing temperatures. Pour concrete into the holes and insert metal post anchors. Allow the concrete to cure for at least 24 hours.
Start by installing the ledger board to your house, ensuring it is level and securely fastened. Next, attach the beams to the post anchors. Follow by installing the joists perpendicularly across the beams, using joist hangers for added support. The joists should be spaced according to your design, typically 16 inches apart.
With the frame complete, it's time to lay the deck boards. Start at the house and work your way outward, leaving a small gap between each board for water drainage. Secure the boards using deck screws, which provide a stronger hold than nails and prevent the boards from popping up over time.
If your deck is elevated or you prefer a more polished look, install railings around the perimeter. Cut and attach posts at each corner and along the edges. Then, secure the railing panels to the posts, ensuring everything is level and stable.
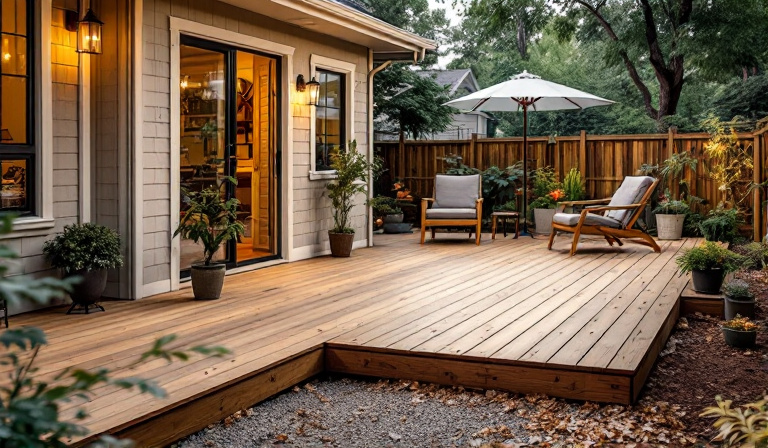
Once the construction is complete, sand any rough edges and apply a weather-resistant sealant or stain. This not only enhances the appearance but also protects the wood from moisture and UV damage. Consider adding outdoor furniture, planters, or lighting to make your new deck a welcoming space for relaxation or entertaining guests.
Building a backyard deck is a significant project, but with careful planning and execution, it can be a straightforward and satisfying venture. Enjoy the process and the new outdoor living space it provides!
Get expert help for your next home improvement project! Whether you're remodeling a kitchen, replacing a roof, or upgrading your floors, connect with top-rated local contractors for a **free, no-obligation estimate**. Fast. Easy. Hassle-Free.